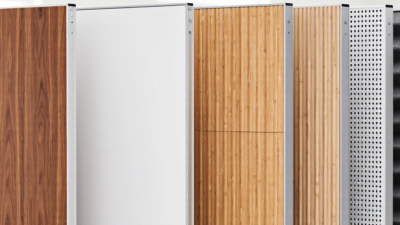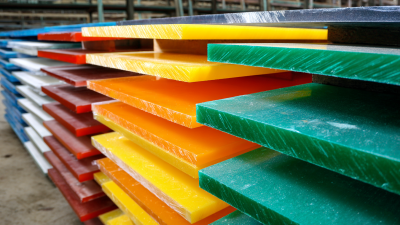
Choosing a wall panel design is not only about finding a pattern you like. Panels change how a room feels, how light moves across its surfaces, and how much visual detail it holds. Start by considering the room’s purpose, existing finishes, and the mood you want to create. A warm wood finish can soften a bright, minimal space, while narrow vertical lines may draw the eye upward. In a small room, a bold texture can look striking, but it may also feel busy across a full wall. Measure the surface carefully and note doors, outlets, corners, and furniture positions before comparing options. Small details matter.
Material and installation requirements deserve equal attention. Check the manufacturer’s guidance for cleaning, maintenance, and suitability for the room’s conditions, especially near sinks or other sources of moisture. Ask how panels are fixed and whether the wall needs preparation; unclear answers are a reason to pause. If possible, view a sample in the actual room, because daylight and warm bulbs can shift its color. Even a carefully planned scheme may feel different once installed, so leave room to rethink scale or finish. This guide explains how to compare styles, materials, layouts, and practical needs with confidence. The best choice is the one that looks right and works well in daily life.
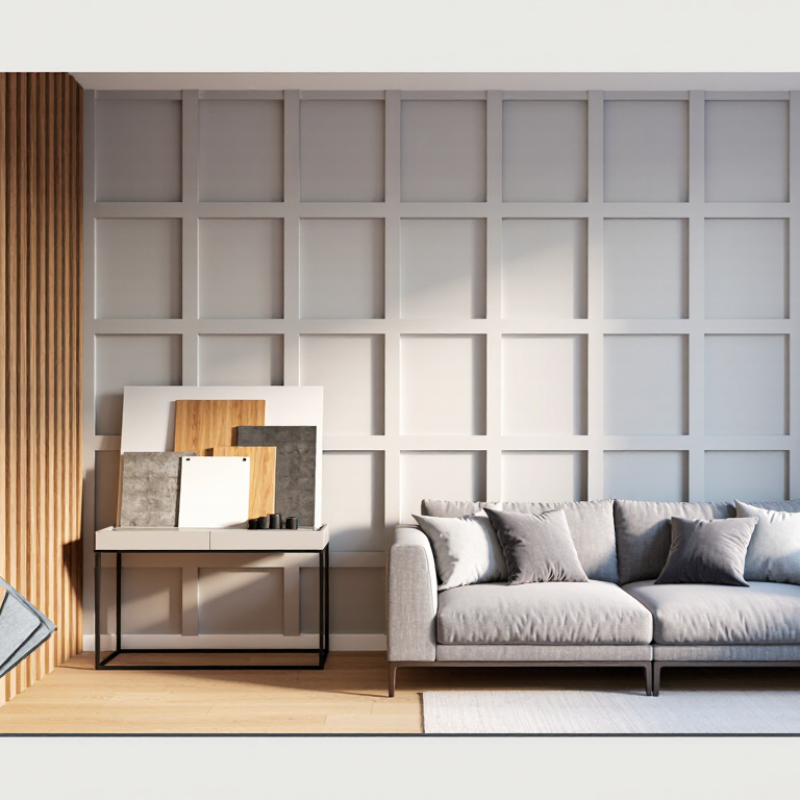
How to Choose the Right Wall Panel Design?
Assess the room’s purpose before choosing a profile or finish. A bedroom may benefit from soft textures and muted colors, while a busy hallway needs a surface that handles scuffs and frequent cleaning. Kitchens and bathrooms bring moisture and splashes, so check the panel material’s care instructions and suitability for damp conditions. A small sample can mislead; view it beside the room’s actual flooring and furniture.
Light and existing features matter, too. North-facing rooms can make cool finishes feel even cooler, while strong daylight may emphasize seams or surface texture. Measure around windows, doors, switches, and trim before settling on a layout. The U.S. Environmental Protection Agency’s mold guidance recommends keeping indoor relative humidity below 60%, ideally between 30% and 50%. That range is useful when assessing moisture-prone rooms, but it does not replace proper ventilation or fixing leaks. I would not ignore a damp wall just because a panel hides it.
Tips: Test a sample in morning and evening light. Check humidity and wall dryness first. Mark outlets and trim on your sketch; it is easy to overlook one. Keep a little extra material for future repairs.
Assess the room’s purpose, moisture conditions, and existing features before choosing a wall panel finish. Indoor humidity is especially important in kitchens, bathrooms, and other damp spaces.
The U.S. Environmental Protection Agency recommends keeping indoor relative humidity below 60%, ideally between 30% and 50%. For rooms prone to moisture, consider panels designed for damp conditions and ensure the underlying wall is properly protected. Source: U.S. EPA.
Wall panels differ in more than appearance. MDF gives a smooth, paint-ready face, but exposed edges can swell if water reaches them. Solid wood offers warmth and can be refinished; its dimensions may shift as humidity changes, a behavior detailed in the USDA Forest Products Laboratory’s Wood Handbook. PVC resists routine splashes, yet can feel less rigid and may scratch. Cement-board panels tolerate damp conditions, but their weight and cutting demands can complicate installation. Details matter.
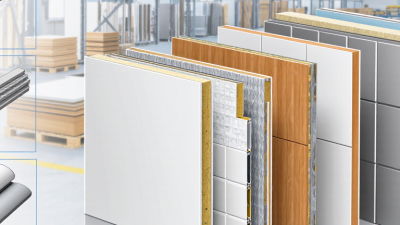
For insulated panels, compare the core separately from the decorative surface. The U.S. Department of Energy’s Energy Saver guidance lists approximate insulation values of R-2.9 to R-3.8 per inch for fiberglass and R-3.8 to R-6.5 for rigid foam. Actual performance varies by product and installation; these figures do not describe the panel finish. Ask for test data on the complete assembly, including fire and acoustic performance. A high insulation value alone does not guarantee a quiet or fire-rated wall. That distinction is easy to miss.
Tips: Match the panel to the room’s real conditions. In a steamy bathroom, inspect moisture guidance and sealed joints; near a busy hallway, check impact resistance. Compare thickness, cleaning needs, repair options, and installation details—not just the sample board. One small caveat: ratings may not predict how a panel performs after years of imperfect maintenance.
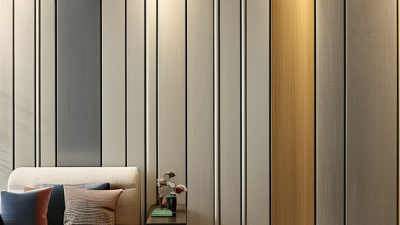
Choose style by matching the panel’s lines to the room. Narrow vertical slats can make a low ceiling feel taller, while broad, flat panels create a quieter backdrop. In a small room, test a sample beside the door and furniture; a pattern that looks subtle online may feel busy across a full wall. Keep the panel profile consistent with the room’s existing trim. It does not need to match exactly. A little contrast can work.
Color changes how that shape reads. Pale, warm tones can soften a north-facing room, while deep colors make a feature wall feel closer and more intimate. The 2024 Houzz & Home Study reported that 54% of surveyed U.S. homeowners renovated in 2023, with a median renovation spend of $24,000. That scale of investment makes durable, easy-to-clean finishes worth considering. Matte surfaces disguise small marks, but textured grooves can collect dust. Gloss reflects light; it can also reveal uneven walls. Test samples in morning and evening light. Screens lie a little. I would not choose from a tiny swatch alone.
Choosing a wall-panel design starts with measuring the wall, not picking a pattern. Record the ceiling height, wall width, and the exact positions of doors, windows, outlets, and vents. Then mark panel divisions on a photo or full-size paper template. A narrow strip beside a doorway can make an otherwise balanced layout feel accidental. Check the view from the room entrance, where proportions often read differently.
Use nearby features as visual guides. Align a panel joint with a window edge or cabinet line when it looks natural; avoid forcing symmetry around an off-center opening. For a low ceiling, tall, narrow panels can draw the eye upward, while broad horizontal divisions may emphasize the wall’s width. Mock up one panel with painter’s tape. Stand back. It may still feel wrong.
Budget makes careful planning worthwhile. Harvard’s Joint Center for Housing Studies reported roughly $472 billion in U.S. homeowner improvement and repair spending in 2022 in its Improving America’s Housing 2023 report. That figure covers many project types, not wall panels, but it reflects the scale of renovation decisions. Before ordering, compare the drawing with actual panel widths, trim thickness, and installation clearances. One detail is easy to miss: the final panel may need trimming around an outlet, shifting the rhythm of the whole wall.
Before choosing a wall panel design, check what the wall can support. Uneven plaster, damp areas, and old paint may require preparation before installation. Some panels attach with adhesive; others need battens or mechanical fixings. Confirm the required tools, clearances, and fixing method in the product instructions. Measure doors, outlets, and corners carefully. Small obstacles can create extra cutting work.
Think about maintenance in the room where the panels will go. Deep grooves collect dust, while smooth finishes are usually quicker to wipe. Kitchens and entryways may need surfaces that tolerate frequent cleaning, but always check care instructions. Test a sample near a window. Color and texture can look different in morning light. That matters.
Budget beyond the panel price. Include wall preparation, trims, fixings, delivery, installation labor, and a modest allowance for offcuts. Ask for an itemized estimate, especially if the wall is uneven. A low material price can be misleading. I would also compare repair options: a replaceable section may be more practical than a finish that requires redoing a full wall. There is no perfect choice; maintenance habits and installation limits may point in different directions.
| Panel type | Typical look | Installation requirements | Maintenance | Moisture suitability | Indicative installed cost (USD/sq. ft.) | Best suited for |
|---|---|---|---|---|---|---|
| PVC / vinyl | Smooth, tiled, or wood-look finishes | Lightweight panels can often be fixed to a sound, clean surface or battens; follow the product's expansion and edge-sealing instructions. | Wipe with a soft cloth and mild cleaner; avoid abrasive pads and solvents. | Generally suitable for damp areas when the system is correctly sealed; not every product is approved for direct shower use. | $5–$15 | Utility rooms, budget updates, and areas where easy cleaning matters |
| MDF (painted or veneered) | Shaker, beadboard, fluted, or flat-panel styles | Requires a dry, level substrate; panels may be glued or nailed. Seal cut edges and prime or finish as directed. | Dust regularly; clean painted surfaces gently and repair chips to protect the board. | Low to moderate; standard MDF can swell if repeatedly exposed to water. Use a moisture-resistant grade only where appropriate. | $7–$20 | Living rooms, bedrooms, hallways, and decorative feature walls |
| Solid wood | Natural grain, planks, slats, or crafted profiles | Allow the material to acclimate indoors; fasten to framing or suitable battens and leave movement gaps as specified. | Dust and clean with a wood-safe product; inspect the finish and refinish when worn. | Low to moderate; humidity changes can cause movement. Avoid persistent wetting unless the product is designed for it. | $10–$30 | Warm, natural interiors and rooms where material character is a priority |
| Gypsum 3D panels | Raised geometric patterns with a paintable surface | Needs a strong, flat substrate and careful layout; panels are heavier than many alternatives, so use the specified adhesive or mechanical fixing. | Dust textured areas with a soft brush; touch up paint as needed and avoid soaking the surface. | Low; best kept in dry interior locations unless specifically rated otherwise. | $8–$25 | Dry feature walls where depth and shadow are desired |
| Natural stone veneer | Stone textures and varied natural color | Check wall capacity and substrate suitability; heavier systems may require reinforced backing, mortar, or specialist installation. | Dust or clean gently; sealing may be recommended depending on stone type and location. | Varies by stone and system; use suitable waterproofing and installation details in wet areas. | $20–$50+ | Fireplace surrounds and high-impact feature walls where weight and cost are manageable |
Cost figures are broad indicative U.S. residential installed ranges per square foot. Actual prices vary by location, wall preparation, panel quality, finish, layout complexity, and labor; confirm product-specific fire, moisture, and installation requirements before purchase.